Making Pottery on a Hump Mold with Clay Slab
Plaster Mold used in demo: PhotoPottery's Very Small Round Hump Mold
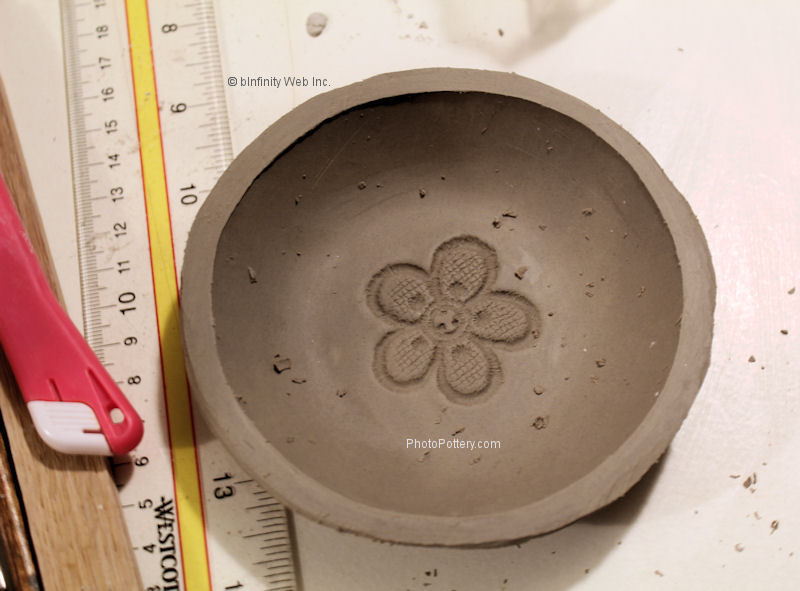
Take Pottery Off Mold
Once the pottery sets up and can support its shape, remove it from the mold. How long? It really depends on the size of the mold and humidity level in your studio. A small mold like this can often be removed in just a few minutes.
It's easiest to remove the clay from the mold when the mold is upside down (ie. in the same position as when you draped the clay) primarily because as you lift it upward you can usually tell if the clay is still too soft, or if it will hold its shape.
Place hands opposite each other - for example, on an analog clock at 3 and 9 o'clock. Then, pull gently outward a small amount. Next move hands to 12 and 6 o'clock and pull gently outward. Now pull gently upward. If the clay does not want to release, it is generally too wet and sticking to the mold. If the clay does release, but starts to distort with the upward motion, it is also too wet. When the clay is in the right state, it literally will pop off the mold when you slowly pull upward.
Note 1: If you can pull upward but the clay starts to lose its mold shape, simply release it back on the mold, pat it down around the rim, and wait a few minutes. Then repeat the above.

Tip: Do not keep the clay on the mold for too long. For example, covering with plastic to remove in the morning (or even several hours later) is not recommended: if the clay shrinks too much, the stress on it could cause cracking problems at any point from while still on the mold to drying to kilning.
Refine Bowl's Rim
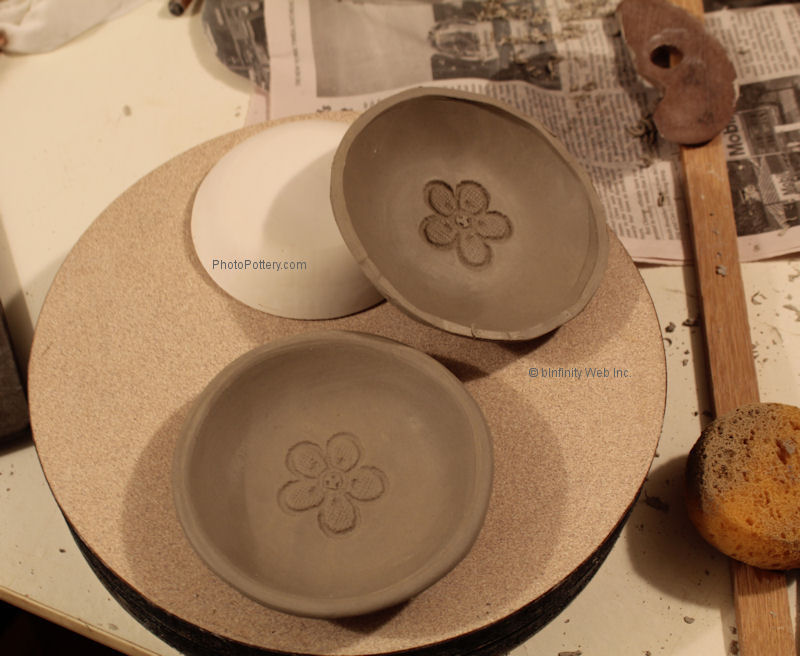
You can clean up the rim with a wood tool and sponge, as shown here, or with whichever tools you find most helpful when hand-buidling. Putting it on a banding wheel (without all the other items in this photo!) makes it simple.

Let's handbuild more pottery...

