Making Pottery on a Hump Mold with Clay Slab
Plaster Mold used in demo: PhotoPottery's Very Small Round Hump Mold
Setting Up, Rolling Clay Slab
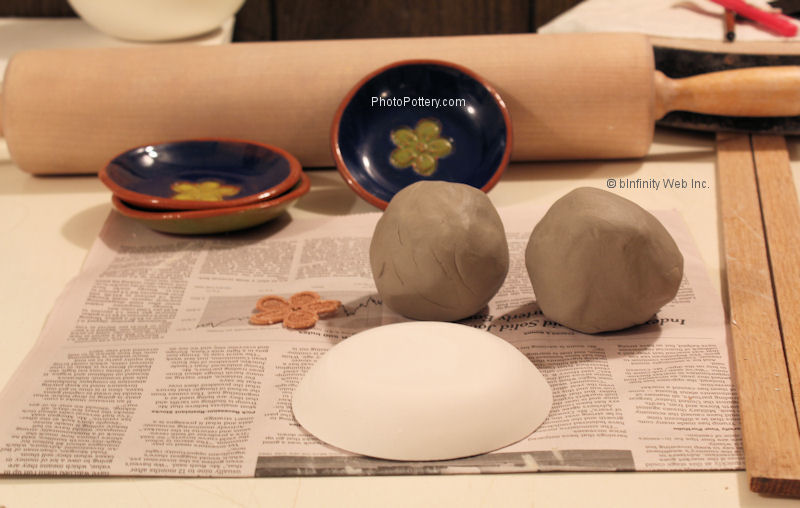
First, we assemble the tools needed to make our plates. Notice how orderly everything is - that will change quickly!

Roll Clay
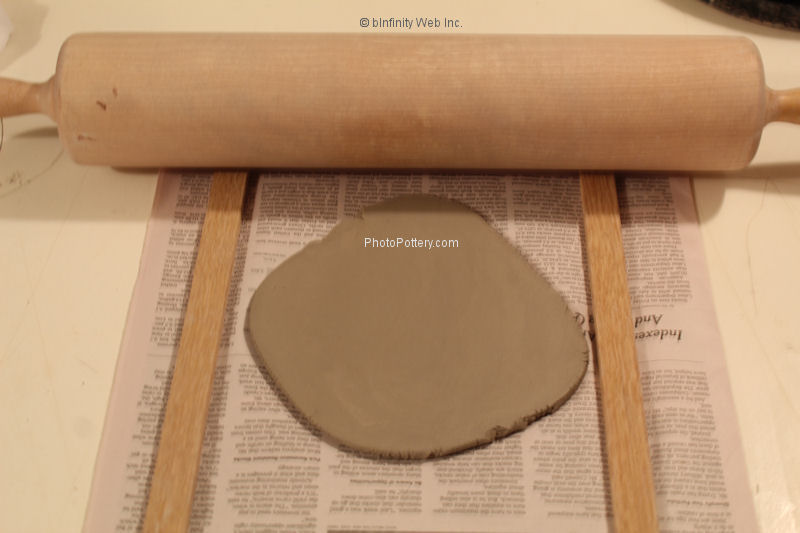
This large rolling pin works well for both small and large pieces of clay. For this small piece, you could easily use a smaller rolling pin. The rolling sticks make it easy to roll out clay with a uniform thickness.

Cut Circular Slab
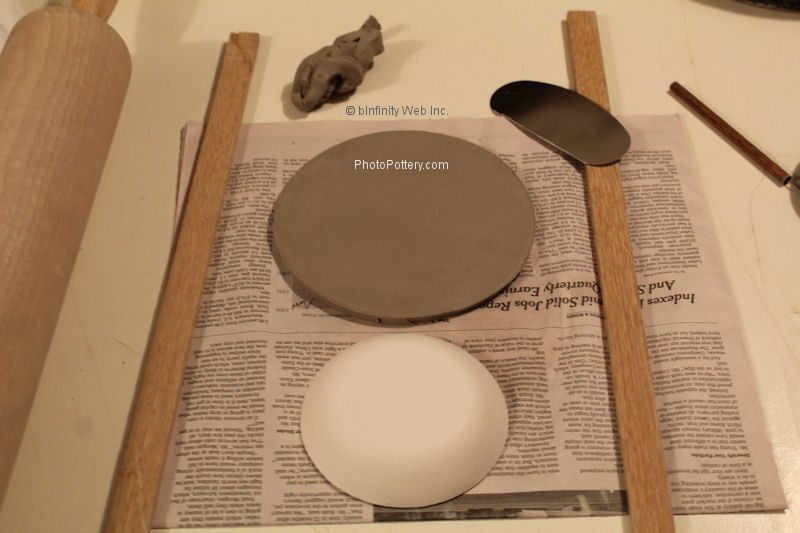
Next, we cut out a round slab to drape over the mold. Sizing is approximate - the diameter of the mold's base (not its top), plus the height of the mold, plus some extra. The extra is because it's always better to have a little more than less if you want the clay to cover the entire working surface of the mold. Trimming off any excess is simple, as shown later.


