Making Pottery on a Hump Mold with Clay Slab
Plaster Mold used in demo: PhotoPottery's Very Small Round Hump Mold
Add Design to Inside of Bowl
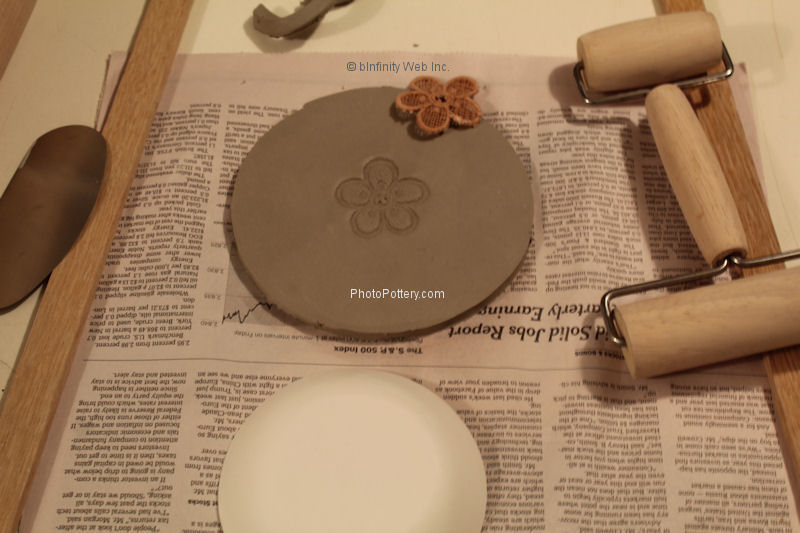
Since we want an imprinted design on the inside of the bowl, we add it now, before the clay is draped onto the mold. Here we're using a cut-out of lace from an old piece of fabric. A pony roller is helpful to roll in the design.

Drape Clay Over Hump Mold
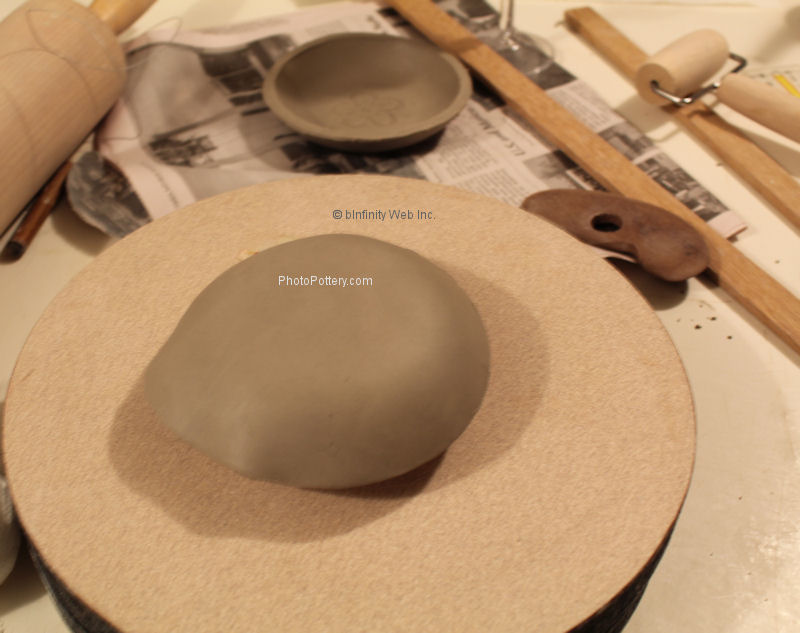
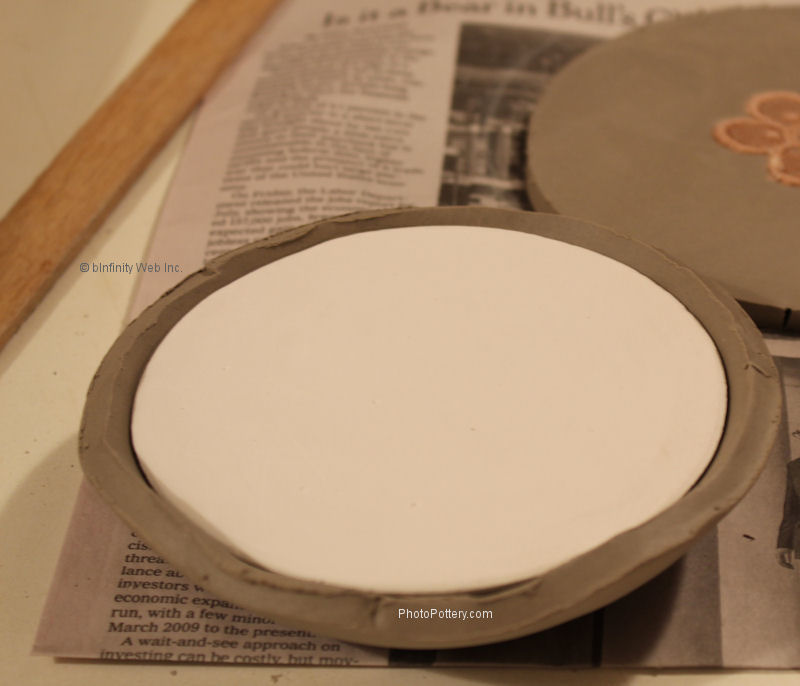
Now just pick up the clay, turn it upside down (so the design is on the inside), and drape it over the hump mold. Notice that the mold is on a banding wheel. This facilitates tapping down the clay onto the mold as the wheel is slowly turned. While not visible, you can see there's a gap below the clay. Since our clay is slightly larger than the mold, an elevator has been added - in this case, we've rested the hump mold on a smaller mold.

Trim Excess
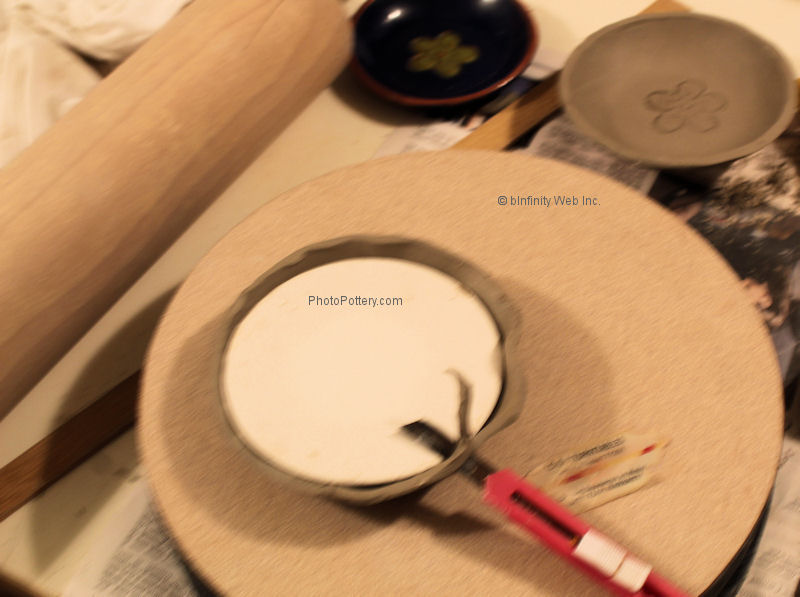
Once the clay stiffens up, the excess clay overhanging the rim is trimmed off. Doing this upright, on a banding wheel, slowly, makes it easy to see what you are doing and helps avoid the trimming tool touching the top of the mold.


